

This is a simple way I use to color my drawings. After I have the drawing finish and ready to began coloring, If its completely digital is easier to color I just create the same layers I'm a bout to use under the line work or sketch drawing. But I will color it as if I'm coloring a scanned work with by default has a white background.
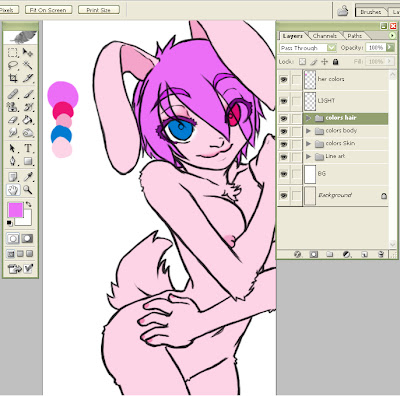
-First Creating folder sets to hold my layer separately. I made here the Flat and the Shadow layers. and also made a light layer but separated and before the color set that it above the line set.
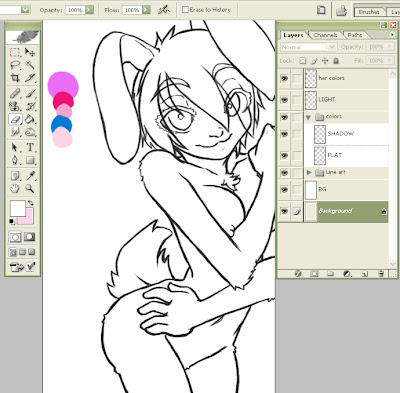
In this image I also already created an extra layer to hold the colors I want to use in the image.
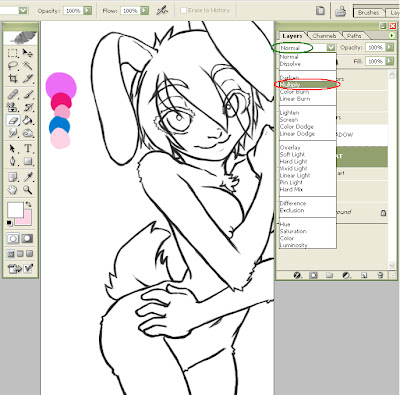
Layers By default com on 'Normal' blend, now here I change it to 'Multiply'. This way I can color over my image and still keep the lines of my drawing intact.
After creating and arranging each layer to multiply, I go to renaming the set for the different areas I'll color. I change the first one to 'skin', in her case means her furr. I say its better to keep the colors of the different section of the drawing in different layers and sets, this way it will be easier to color.
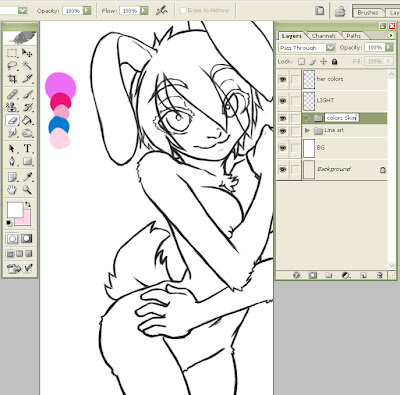
After I'm done with renaming I go to 'Duplicate' the set and renamed them with their respective names. You can do this 'right' clicking on the folder set and selecting 'Duplicate Layer Set'. Now I'm done with duplicating as many Sets I need.

I've created a Skin, body and hair 'Sets'. I name body everything on the body the is not skin, meaning eyes, nails, and delicate body parts.
Now I can color on my 'Flat' layers without touching my lines and able to keep them intact. On the 'Body' I use the smudge tool to blend in a little the lips on her and other part that i may need to blend on to the skin.

I use Photoshop default brushes more often, this is the brush I use often as my smudge tool called 'Airbrush Pen Opacity flow'.
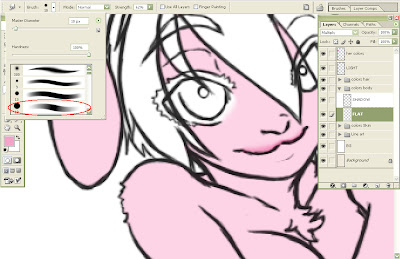
And here you can see I'm done with the Flat coloring.
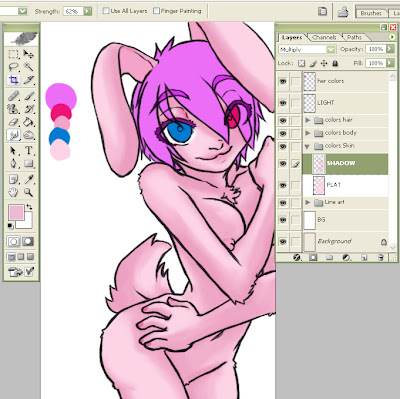
Now I'll go with the shadowing of my drawings. I use a Default brush again for this one its called 'Wet Sponge'.
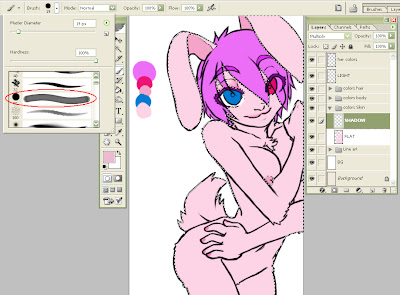
I use this brush on 60% to 50% of opacity so I can gradually darken my flat color. And I choose a slightly not so darker version of my flat color. Or at times I only use gray color not so dark, but neither to light.
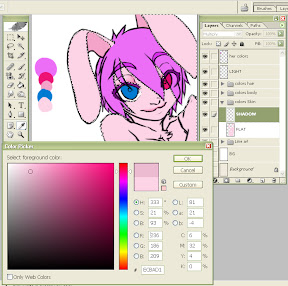
I chose my layer Flat color completely using the magic wand tool or either you can right click the layer you want to color over and select 'Select Layer Transparency'. Now I go to color my Shadow Layer. I color to what i want the lighting to hit the drawing of and very fast.
After I choose, I go slowly over the drawing using the smudge tool to blend the color and give it a smooth ending. Here I go smoothing the ends and adding and erasing shadow over the drawing, until I'm satisfy.
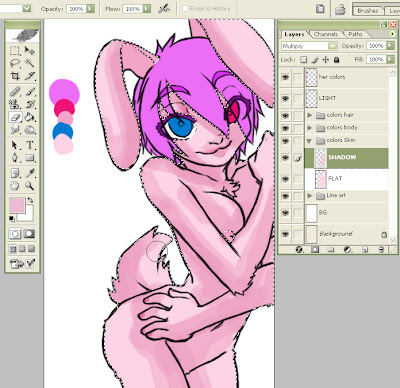
And I go a do the same with every other color left.
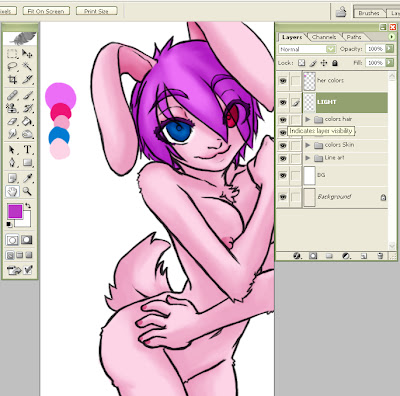
After I'm satisfy with the outcome of the shadow I go to adding the light. Lately for this type of shadowing I use I've been giving them a very strong Light without blending over it. I think It give it a more cartoonish ending.
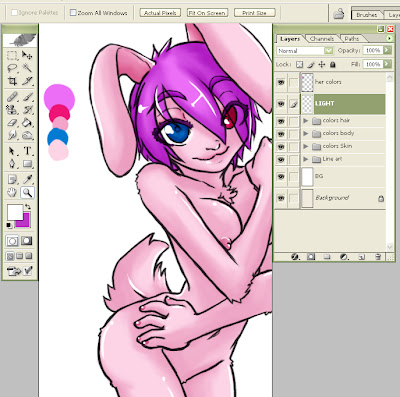
And that's is one of my styles in coloring, Its my most current use. But I will publish one of my most complex one later.
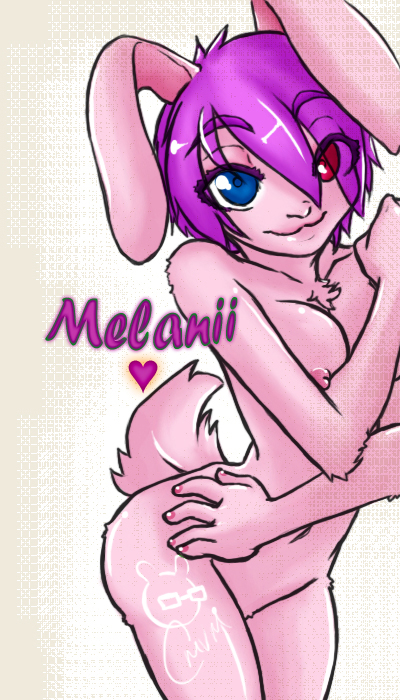
This is the out come of the picture with some other layers adding too.
No comments:
Post a Comment